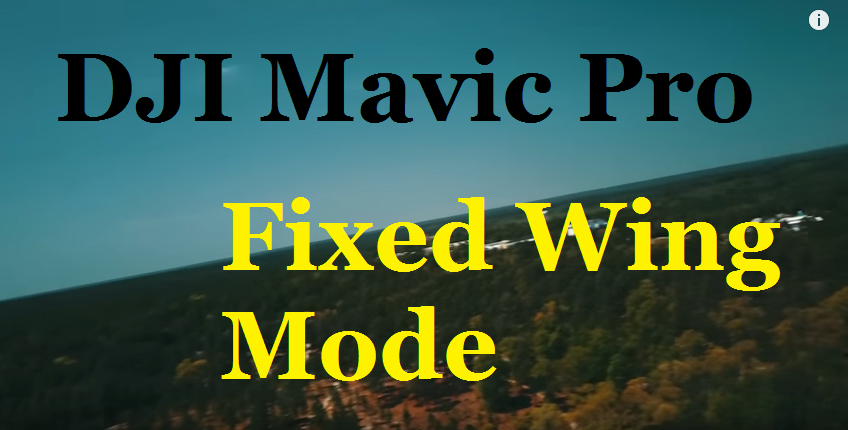
DJI’s latest firmware update let’s you fly in a new way called ‘Fixed Wing Mode‘, adding a new visual dimension to your videos.
in Fixed Wing Mode the gimbal remains locked with the horizontal axis of the aircraft. The flight behaviour of the drone replicates what it would be like if you were actually flying a ‘fixed wing aircraft’…the horizon tilts, turns are completed more slowly as the quadcopter’s forward motion is combined with a banking turn.
For creative film-makers, this is a great addition to the Mavic’s arsenal of modes. Being able to replicate the visual experience of flying in an airplane will add a sense of realism to a wide variety of video story-lines.
So how do you enable and use ‘Fixed Wing Mode’?
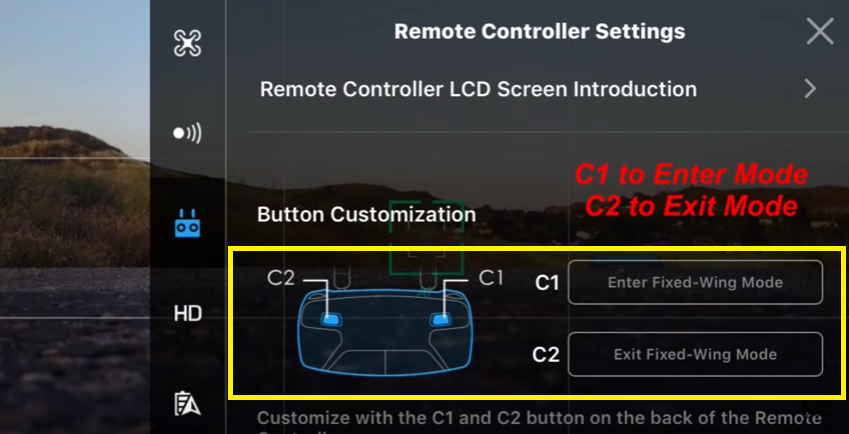
In your Remote Controller Settings toggle the Set to Fixed-Wing Mode to ON.

Once your Mavic Pro is airborne and moving forward at a speed of 3 m/s or more the Remote Controller will ask you if you want to Enter Fixed-Wing Mode, simply click C1 to activate and your drone will now be moving forward at a constant speed.

The C1 button is located on the left underside of your Mavic Pro Remote Controller, and the C2 is located on the right underside.
To Exit Fixed-Wing Mode you can either click using the C2 button or pull back on the right stick on your Remote Controller.

