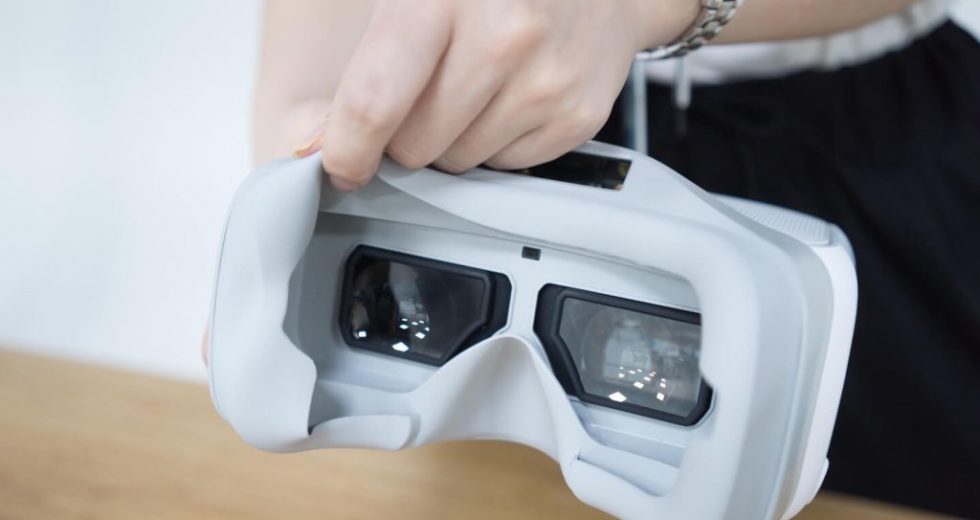
DJI Goggles were a long time coming from the initial launch. But now that everyone is getting emails that they’ve shipped we thought there’s one more thing you should know: they’re more than just FPV goggles for drone flying.
With the built in dual 1080p screens, a speaker and headphone jack and HDMI Type-D port you can do so much more than just fly your drone. And battery life is long enough that you should be able to breeze through more than a couple of movies in HD.
But here’s the best part: watching a movie or show with your DJI Goggles is the same experience as being 3 meters from an 18′ screen! It’s like having your own personal theatre, except it costs about $100,000 less.
So how do you set up your DJI Goggles to watch your favorite movies and TV shows? Easy, and it varies according to your device:

iPad/iPhone/iOS/Mac
Connecting your DJI Goggles to an iPad or other iOS device is simple.
Just plug in an Apple Lighting to HDMI adapter and you should be good to go. Apple’s HDMI adapter (above) also has a Lightning Pass-Thru to allow you to continue charging your iOS device while using it.
If you want to use the DJI Goggles with your MacBook, you can skip the adapter above and just use the HDMI port on the MacBook. The DJI Goggles should start mirroring your MacBook screen immediately.
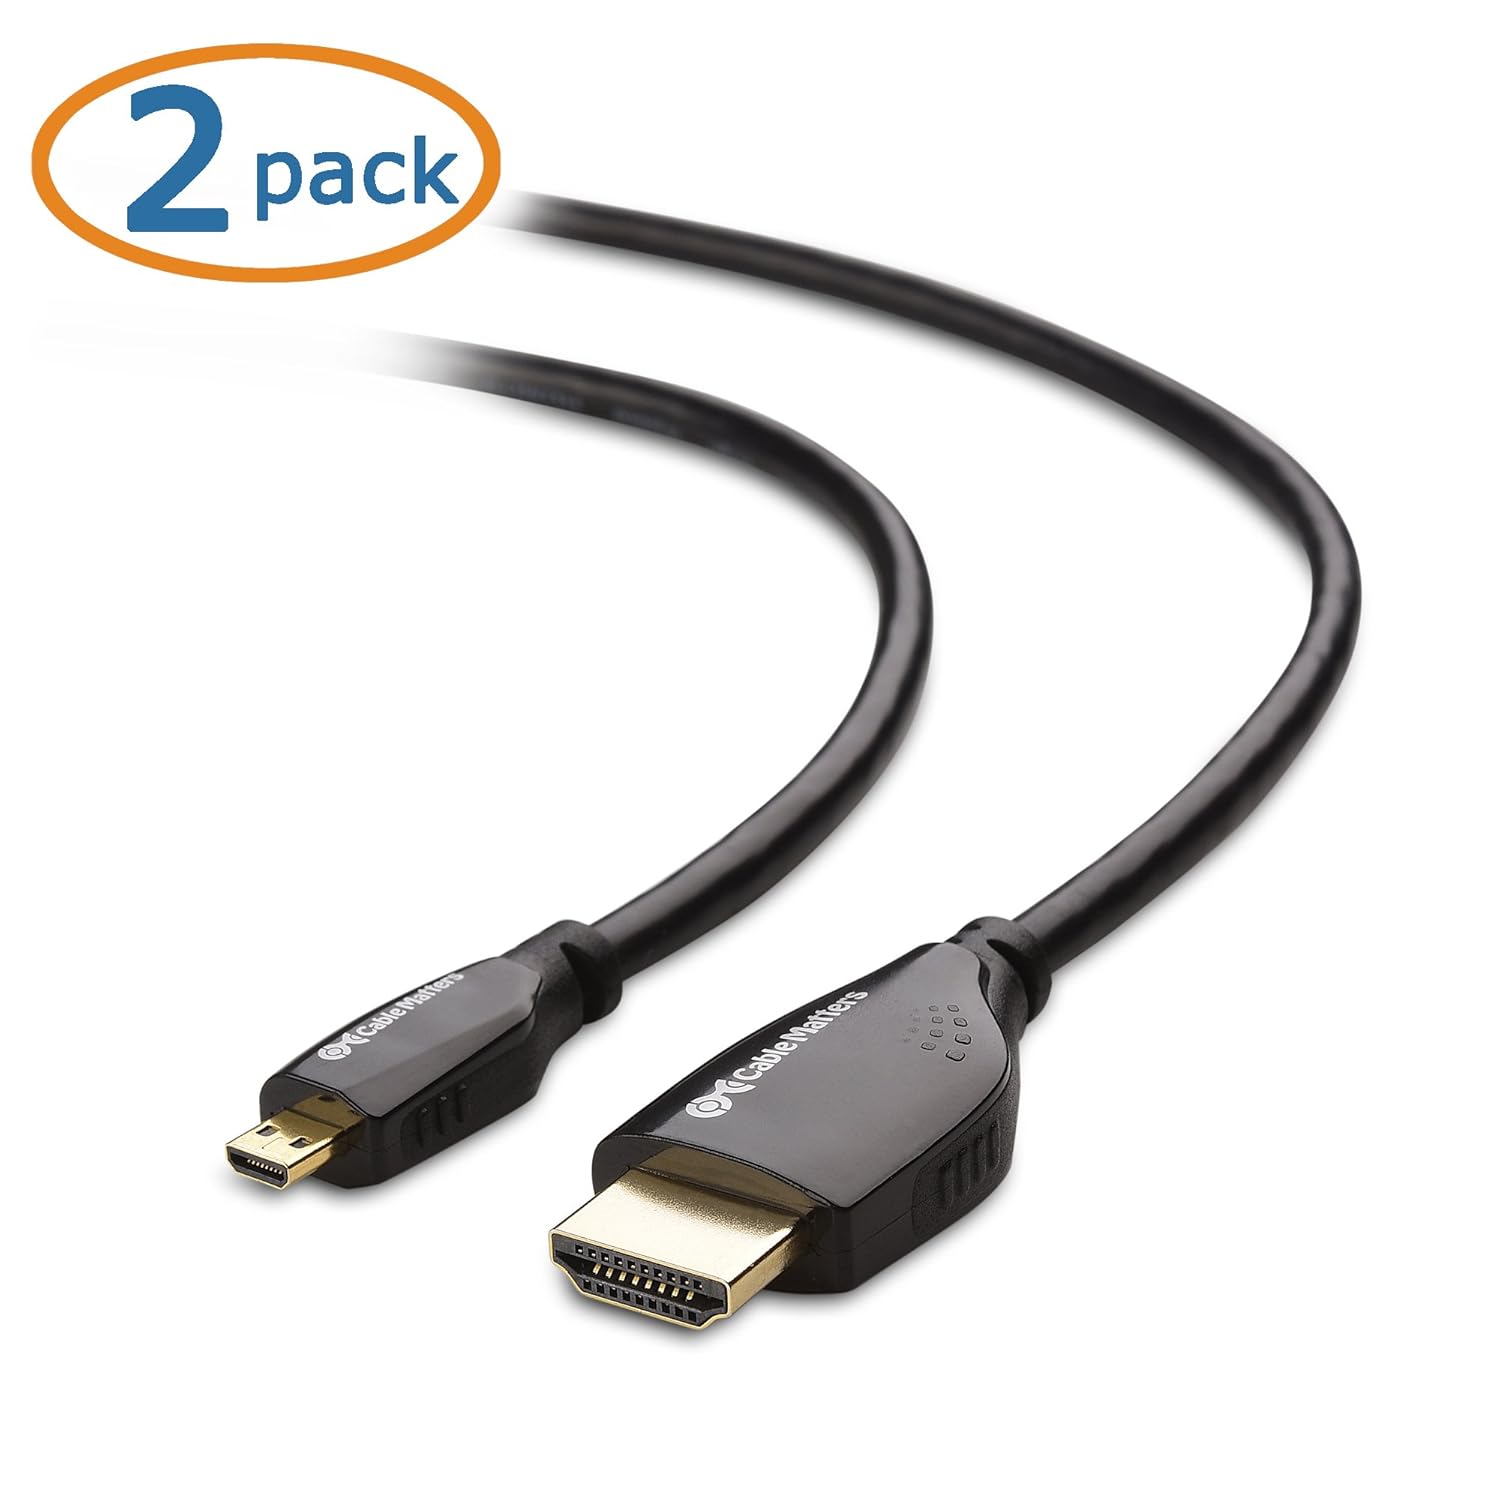
Make sure you have an HDMI cord that supports HDMI Type-D, also know as microHDMI. You want a cable that is high-quality and long enough to give you freedom of movement while watching. From our experience 6 feet is the minimum we recommend for HDMI cable length.
We recommend the Cable Matters High Speed Miro-HDMI D to HDMI Type A (above) because it’s inexpensive and comes in a 2-pack so you’ll always have one handy. The bonus is it comes with a 90° adapter (right) so the HDMI cable coming out of the DJI Goggles is less obtrusive. The Cable Matters HDMI Cable also has Amazon Prime free shipping.
Windows PC/Laptop
To connect to your Windows PC, the process is the same as with the MacBook….assuming your PC has an HDMI out port.
Unlike the MacBook, the mirroring of the Windows PC screen may start immediately or you may have to select the HDMI output either using your control panel or the function keys depending on your PC.
If you are using a Microsoft Surface, which lacks and HDMI port, you’ll need a DVI to HDMI Cable or an adapter that let’s you use your existing HDMI cable. DVI to HDMI Cables are roughly the same price as a normal HDMI cable. We found this one on Amazon for less than $10 with Prime.
Game Console
We run an Xbox One S for gaming in our house which outputs to our Smart LED TV with an HDMI as you would expect. From there we tap into the HDMI Out on the TV and feed the signal into the Goggles.
You can also just run the HDMI out from the Xbox console direct to the DJI Goggles, but our game room electronics console isn’t set up for that to be easy. In our case, using the HDMI pass-through of the TV works best.
So far we’ve been able to consistently get about 4 hours minimum from a full charge on the DJI Goggles, but to be honest we haven’t actually sat down with a stopwatch yet.
And since the headband and goggles each way about 1 lb, it may be the feeling that you have a 1 L bottle of water on your head that will make you take them off long before the battery dies. Some users find the goggles more comfortable than others, so it will just come down to personal comfort.
Audio
Audio output on the DJI Goggles can either be from a pair of primitive, low quality speakers that are built into the sides of the Goggles, or by using the headphone out port located beside the HDMI IN on the left side of the Goggles.
Once you have the DJI Goggles set up, you’re free to adjust the settings to suit your eyes.
We know you bought the DJI Goggles for the integrated FPV experience of pairing them with your DJI drone, but they’re good enough for watching videos that we know you’ll get a lot of use out of them for that as well.
Let us know in the comments what your experience was like, and any changes you made to the video settings that you found made watching videos more enjoyable.


